Developer Documentation
Platform Overview
Authentication
API Services
Overview Accounts Accounts: Associations Accounts: Metadata Accounts: Profile Appstore: Users Broker Distributions Broker Tours Consumers Consumers: Linked Agents Contacts Contacts: Activity Contacts: Export Contacts: Tags Contacts: Portal Accounts Developers: Identities Developers: Keys Developers: Authorizations Developers: Billing Summary Developers: Change History Developers: Domains Developers: News Feed Webhooks Developers: Roles Developers: Syndications Developers: Templates Developers: Usage Detail Developers: Usage Summary Devices Flexmls: Email Links Flexmls: Listing Meta Origins Flexmls: Listing Meta Translations Flexmls: Listing Meta Field List Translations Flexmls: Listing Reports Flexmls: Mapping Layers Flexmls: Mapping Shapegen IDX IDX Links Listing Carts Listing Carts: Portal/VOW Carts Incomplete Listings Incomplete Listings: Documents Incomplete Listings: Documents Metadata Incomplete Listings: Document Uploads Incomplete Listings: Floor Plans Incomplete Listings: FloPlans Incomplete Listings: Photos Incomplete Listings: Photos Metadata Incomplete Listings: Photo Uploads Incomplete Listings: Required Documents Incomplete Listings: Rooms Incomplete Listings: Tickets Incomplete Listings: Units Incomplete Listings: Videos Incomplete Listings: Videos Metadata Incomplete Listings: Virtual Tours Incomplete Listings: Virtual Tours Metadata Listings Listings: Clusters Listings: Documents Listings: Documents Metadata Listings: Floor Plans Listings: FloPlans Listings: Historical Listings: History Listings: Hot Sheet Parameters Listings: Notes Listings: Search Parameters Listings: Open Houses Listings: Photos Listings: Photos Metadata Listings: Photo Uploads Listings: Document Uploads Listings: Rental Calendar Listings: Required Documents Listings: Rooms Listings: Rules Listings: Tour of Homes Listings: Tickets Listings: Units Listings: Validation Listings: Videos Listings: Videos Metadata Listings: Virtual Tours Listings: Virtual Tours Metadata Listing Meta: Custom Fields Listing Meta: Custom Field Groups Listing Meta: Field Order Listing Meta: Field Relations Listing Meta: Property Types Listing Meta: Rooms Listing Meta: Standard Fields Listing Meta: Units Registered Listings Market Statistics News Feed News Feed: Curation News Feed: Events News Feed: Groups News Feed: Metadata News Feed: Restrictions News Feed: Schedule News Feed: Settings News Feed: Templates Notifications Open Houses Overlays Overlays: Shapes Portals Portals: Listing Categories Portals: Metadata Preferences Saved Searches Saved Searches: Provided Saved Searches: Restrictions Saved Searches: Tags Search Templates: Quick Searches Search Templates: Views Search Templates: Sorts Shared Links System Info System Info: Languages System Info: Search Templates
Supporting Documentation
Examples
RESO Web API
RETS
FloPlan
Terms of Use

App Submission Process

Submitting an application to the Spark® Store is a four-step process that includes a waiting period where MLSs may review your application.

  1. Create a profile for your application
  2. Submit your application profile for approval
  3. Await MLS approval
  4. Publish your application
 

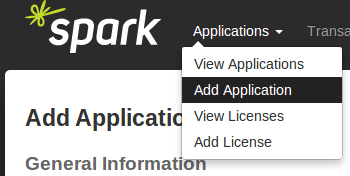
Step 1: Create a profile for your application

To enter a new application in the Spark store, expand the Applications menu at the top of the page, and select "Add Application."

Step One: Menu

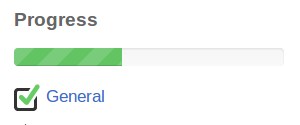
Fill out the "General Information" page, then click save. From here, you will continue filling out your application's profile until the progress meter (shown below) is at 100%.

Step One: Progress Meter


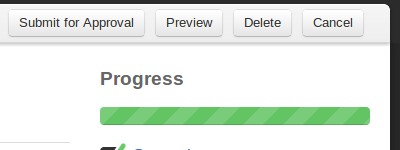
Step 2: Submit your application profile for approval

Once your progress meter is full, you'll see a "Submit for Approval" button at top of the page (example below). Give each form a once-over, then click this button to have your application approved by FBS and the many MLSs that use our store.

Step Two: Submit


Step 3: Await MLS approval

Currently, MLSs have two-weeks to reject your application from showing in the store for their users. Your application will not be available in the store until this period has passed, and you have taken the action noted in the following step.


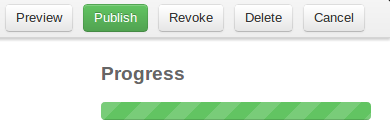
Step 4: Publish your application

Once the time has passed for MLSs to screen your application, your application will be ready to publish in the store. The final step requires you to visit your application profile in Spark, and click the green "Publish" button.

Step Four: Publish Your App